


Web3 and NFTs are all around the internet today.
New companies are been creating day after day.
Also, we are seeing a spike in scams in the NFT industry.
Why? Simple, because the technology is so new, that most of the people don’t understand how it really works.
Designers are the stepping stone on this new NFT era.
But, most of them lack the technical background to launch a complete generative NFT collection without needing the help of developers.
I’m are here to give you a full review of this platform that looks promising.
A no-code solution to launch a generative NFT collection without technical knowledge.
Sounds good? Keep with me while we dive into the platform.
Create Account
As soon as you enter the website, although it doesn’t have a top-notch design, the marketing team seems to have made the homework on terms of conversion.

They have a very clear above the fold hero that lets you understand quickly what you can find inside the platform.
Once you are on the web app, they ask for very little information to create your account and they rely on MetaMask as the default way to create your account.
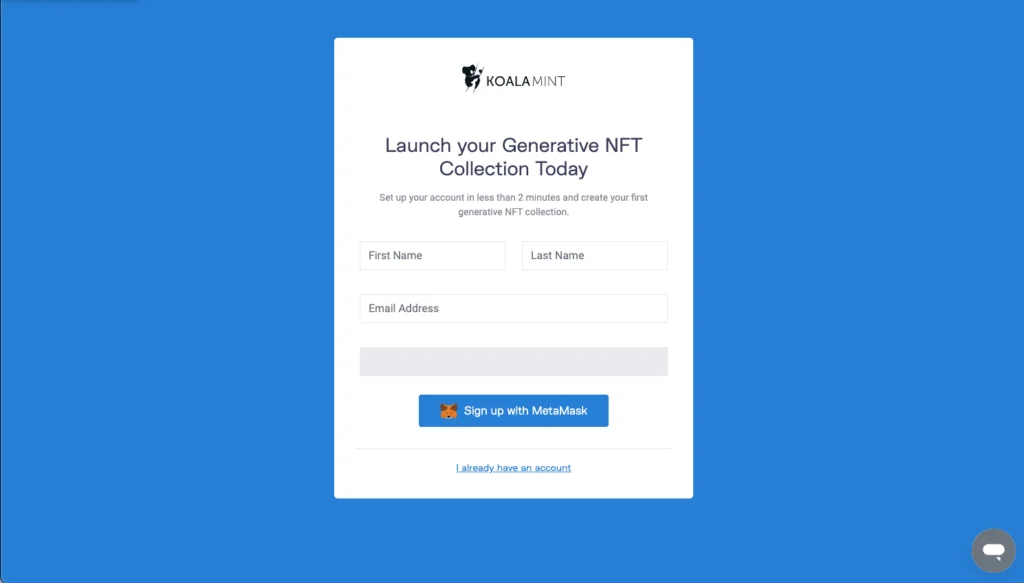
It’s true that MetaMask is one of the leaders in the NFT industry, but it could be good to be able to sign up without a MetaMask account.
Later we’ll discover that you’ll need MetaMask for everything inside the platform, so it’s good to ask for it right away on the signup.
Heads up: we didn’t know the team behind KoalaMint before creating our review, they have been really nice with our inquiries. If you don’t feel comfortable with the MetaMask integration, associate an empty wallet with the platform until you gain confidence.
Create Collection
The onboarding process for the first collection is pretty straightforward and user-friendly.
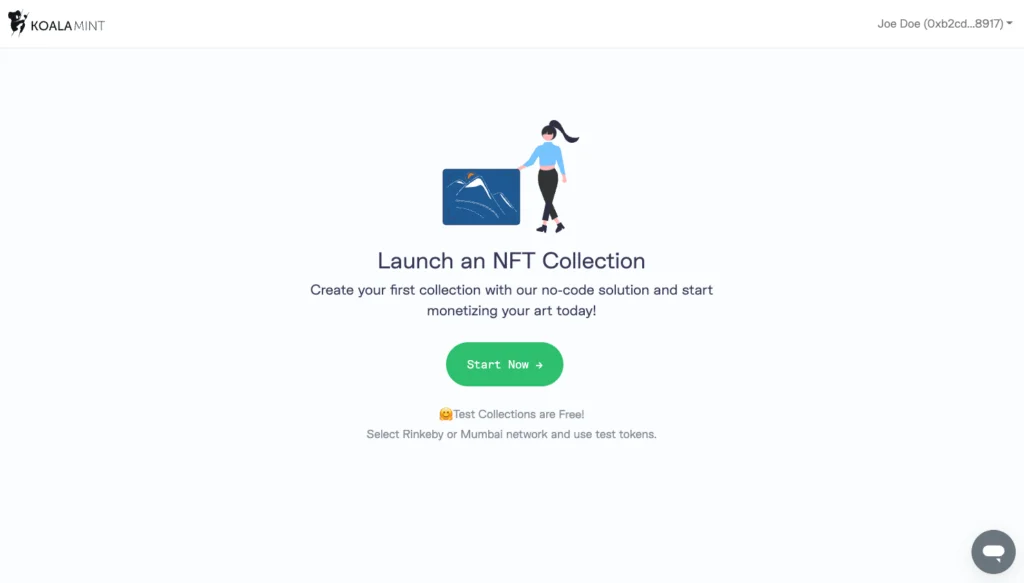
First, you’ll need to give some basic information regarding your collection like the Name, the network, and the address of the owner.

Heads up: on the website they mention that the Rinkeby/Mumbai collections are free, but they aren’t advertising it as they should! It’s so awesome being able to play around without spending a single penny.
Upload Assets to be NFTs
As soon as you indicate some basic information, you’ll be prompted to associate your Google account to provide the assets for your NFTs.
Watch out: if you don’t allow all the asked permissions by Google, the platform won’t be able to upload the assets correctly.
Add Metadata
After you associate your Google Drive and indicate the folder where your assets are located, the platform will automagically create a Google Spreadsheet so you can add the details and metadata of each NFT.

Here you’ll be able to add the name, description, and price of your NFTs.
Also, here you have to specify the traits for your NFTs. If I have to highlight a UI improvement, here is where KoalaMint seems to fall short.
But, if you take a step away and think about a better way to handle metadata for collections of hundreds and thousands of NFTs, it did not come to our mind how this process can be handled more user-friendly.
Hint: you have a Collection Example on a second page inside the spreadsheet.
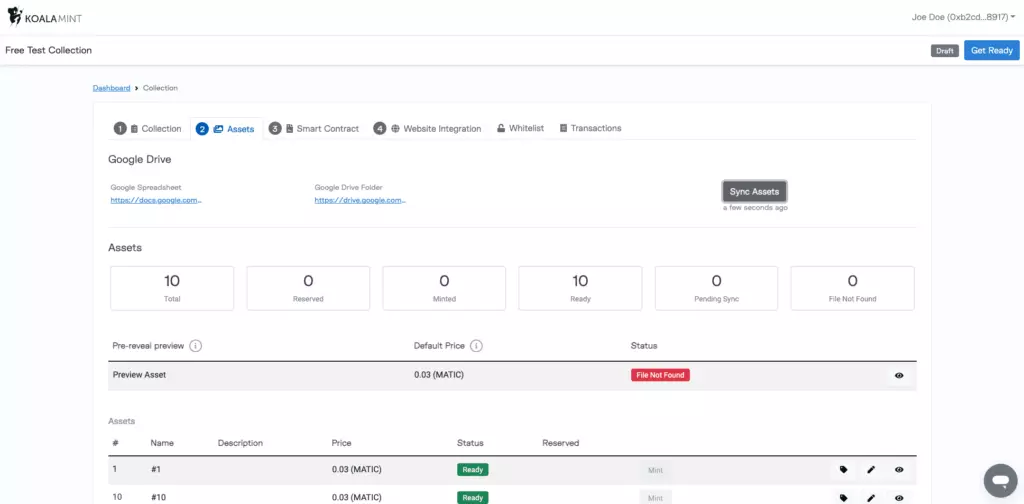
Add Preview Image
One of the key features of KoalaMint is the ability to let you reveal your collection at a later date.
So, once your customers mint your NFTs, they will receive a preview image of the NFT until you reveal your collection.
To add a preview image to your collection, you have to have an image file (jpg/png/gif) named preview and the platform will automatically detect it.
If you don’t have it when you initially associated your Google Drive folder, add it and hit the Sync Assets button.
Create your Contract
Once all your assets are in status Ready, including your preview image, the next step you’ll have to take is to create the smart contract that will govern your collection.
Here is one of the points where KoalaMint monetizes its platform.
They charge you 0.03 ETH ($ 80 based on the ETH today’s price) and it seems a low barrier entry taking into count that you’ll be avoiding real high developer costs for your collection.
One thing that you have to take care of at this point is that one variable of the deployment cost isn’t related to the platform and is related to the gas needed to deploy the contract.
While a Polygon collection will cost you $1- 5 of gas to deploy your contract, on the other hand deploying a contract on Ethereum can cost you somewhere between $200 – $1,000 of gas.
If you have created your Ethereum collection and arrived at this point to face that you’ll have to pay a lot of gas to deploy the contract, you can’t change the network for that collection.
If you want to change the network, you’ll have to start over.
We’ve reached out to the support team and they confirmed that they have added this as a nice to have feature for future updates.
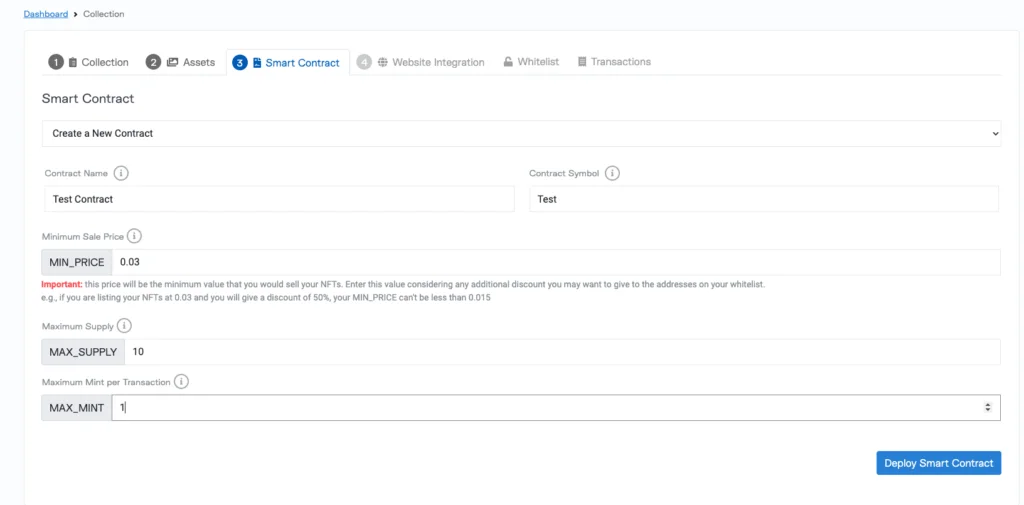
The contract creation process is really simple and you have to complete very little information like:
- Contract Name
- Token Symbol
- Min Price (the minimum price of your assets)
- Max Supply. The maximum amount of NFTs your collection will have.
- Max Mint. This will be the max amount of NFTs a single seller can mint in one transaction.
Hit Deploy Smart Contract and the tech work for your NFT collection will be handled in the background.
Create your NFTs
Now that your contract is deployed and your assets ready you have to upload them to the metaverse.
This may sound like a difficult task, but since the platform has built-in integration with Pinata, the creation of your IPFS is a click away.
Go ahead, hit Get Ready and your assets will be created on IPFS at this point, your NFTs have their own home on the metaverse.
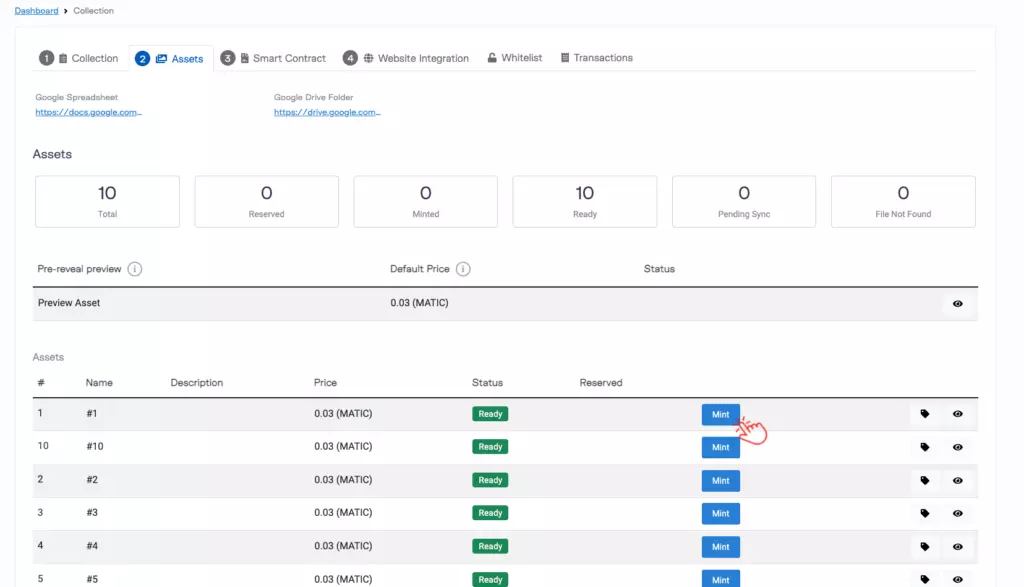
Sell your NFTs
Now that your NFTs were created, you’ll have two different options to sell them.

The natural way to sell your NFTs using KoalaMint is by adding the mint button to your website and the team behind the platform has made it dead simple to do it.
They have a test collection so you can test the mint button without needing to even create a collection.
Another nice feature they have implemented is the private mint link.
You can create a private link to send to anyone and that link will allow minting that particular NFT from the collection. Have in mind that these links expire.
We’ve processed several NFT purchases and we went to check our account on Opensea and they were successfully delivered in record time.
Receive your Funds
We’ve created a test collection and as soon as a sale is processed, the funds were transferred to our owner’s address in a couple of minutes.
Remember that the platform deducts 5% of the fee for every approved transaction.
A question that we asked the Koala team was if this fee also applies for further sales or just the initial one and they confirmed to us that was only in the initial mint from the Koala mint button.
Key Takeaways
Find here the most pros and cons about KoalaMint.
Pros:
- Trustworthy. The platform integrates with MetaMask, Google Drive, and Pinata.
- From Coast to Coast. Covers the entire process to build and launch a generative NFT collection.
- Userfriendly. They found a way to bypass an entire technical team with just a couple of interfaces.
- Free Trial. The collection created on Rinkeby and Mumbai network is entirely free.
- Networks. Available for Ethereum and Polygon, two of the most popular NFT networks.
Cons:
- Generative Art. They have this feature in the backlog, but it’s not ready yet.
- MetaMask required. Only works if you have MetaMask installed.
- Spin-off collections. You can’t run a spin-off collection like Mutant Apes.